
Creating an agent
How to build a custom agent from one sentence or a template, answer the builder's questions, review the draft, provision it live, or build a team from the chat.
Browse documentation
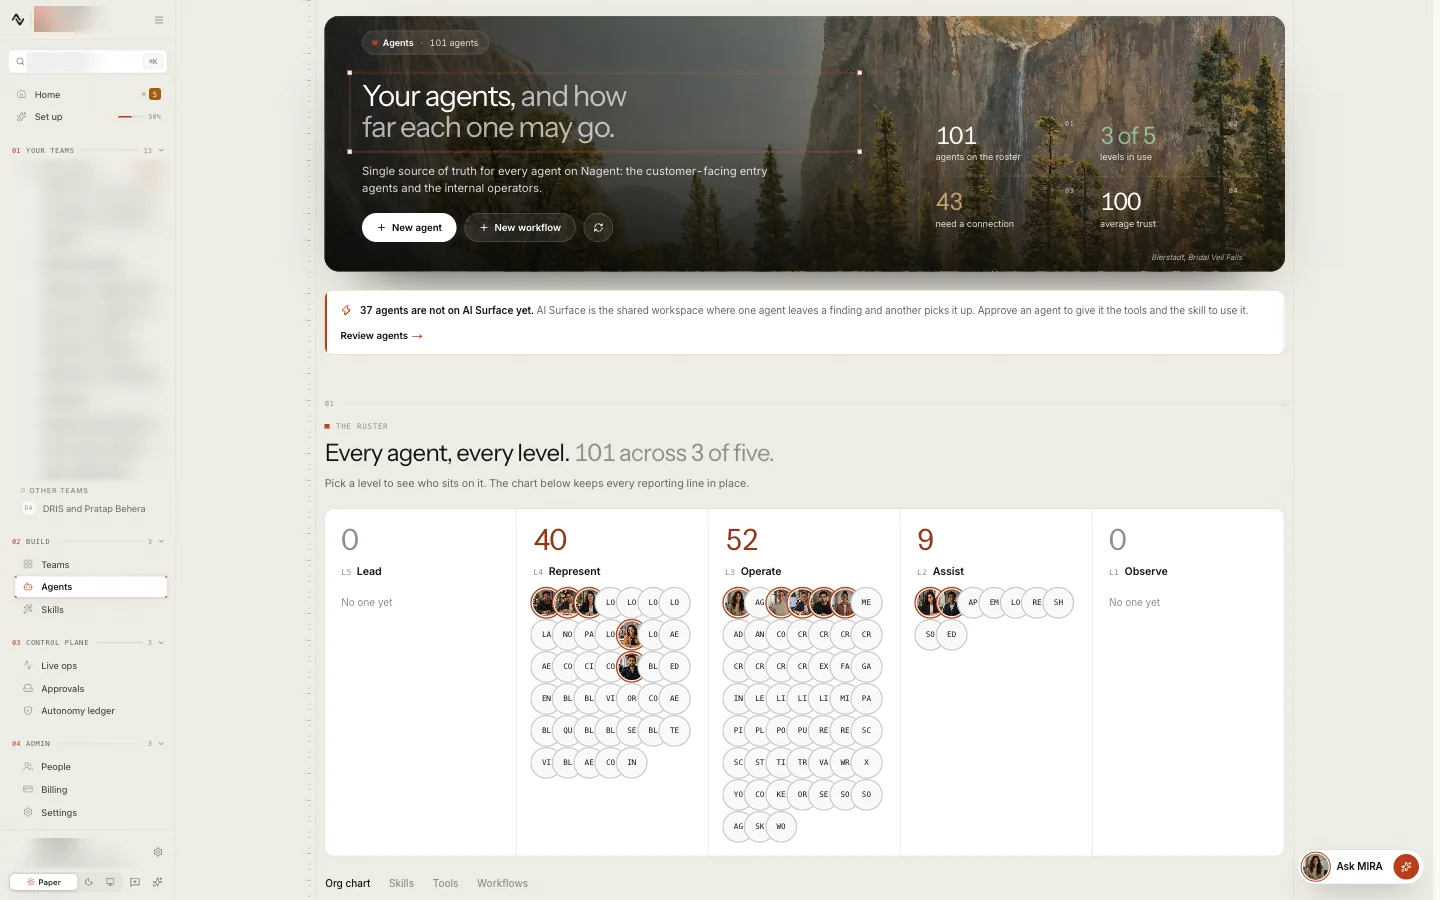
One sentence is enough to start an agent
You do not write a custom agent from scratch. You say what the job is, the agent builder asks a few questions, and it drafts the whole agent for you to review: its skills, tools, triggers and guardrails included. Nothing exists until you have read the draft and pressed Provision agent.
There are three places to start:
| Where | What you press | Best for |
|---|---|---|
| Agents | New agent | Building one agent step by step |
| Build AI Team | The chat at the top | Saying what you want and letting Nagent pick the builder, or asking for a whole team at once |
| A new team's form | Build agent | A team that needs an agent you do not have yet |
Build an agent in three steps
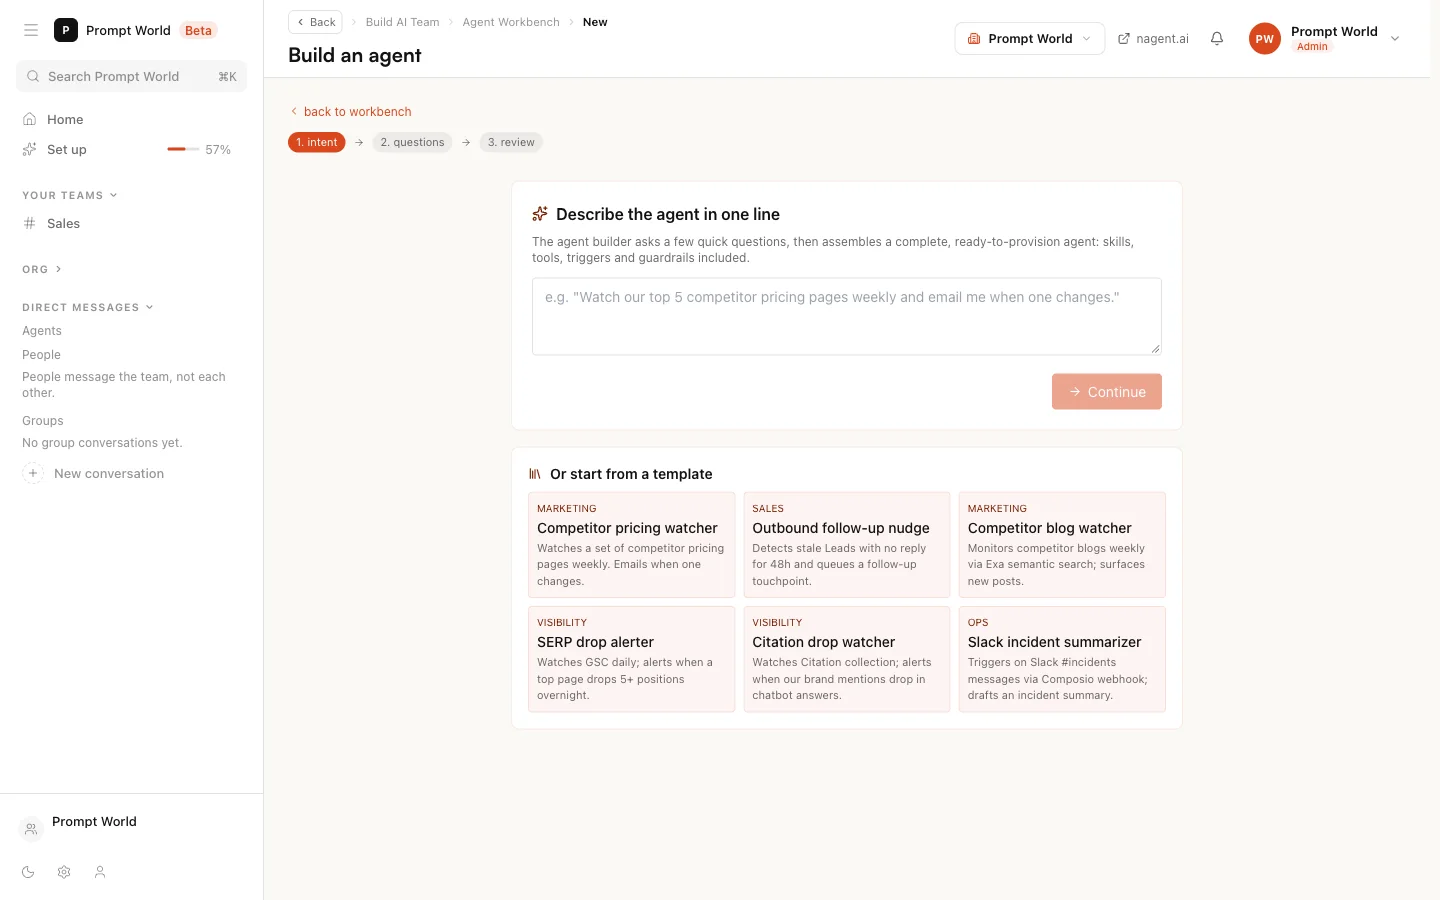
Press + New agent in the Agent Workbench. The screen is titled Build an agent, and a strip at the top shows where you are: 1. intent, 2. questions, 3. review.
Step 1. Say what the agent does
Under Describe the agent in one line, write the job in plain words. For Prompt World, which runs prompt engineering workshops, that might be:
Watch the five competitor workshop pages we track every week and tell me when one changes its price or its dates.
Press Continue.
Or pick a card under Or start from a template, such as Competitor pricing watcher or Outbound follow-up nudge. A template skips the questions and takes you straight to the review, already drafted.
Step 2. Answer the questions
The builder asks a few multiple-choice questions about your agent. They usually cover how it should run (on a schedule, on an event or only when you start it), how much it may do on its own, a daily spending cap, whether it must ask before changing anything, and where its results should go.
Every question has an answer already chosen, marked recommended. Accept the defaults or change them, then press Build agent. The screen says "Assembling the agent" while the builder drafts it.
Step 3. Review and provision
The review has two halves.
- On the right, the Spec preview. The draft agent, field by field, and you can edit any of it by hand.
- On the left, the Agent builder chat. Ask for a change in plain words, for example "make it run daily instead", and the builder redrafts.
| Field | What to check |
|---|---|
| Key and Name | The key is the agent's address: lowercase letters, numbers and hyphens |
| Description, Capabilities | That it says what you meant |
| Role, Department | What the agent does in a few words, and where it sits. Pick a department from the list or type a new one |
| Reports to | Tick one agent. With none ticked it reads "No one" |
| Tools | The actions it may use. Add or remove them here |
| Skills | The procedures it follows. The builder may write new ones when you provision |
| Triggers | What starts it: a schedule, an event or a manual start |
| Guardrails | Each rule, whether it is advisory or blocking, and what it does when broken: warn, queue for approval, block, or pause the agent |
| Model | Leave the default unless you have a reason |
| Autonomy | Its starting level |
| Risk level | Low, medium or high |
| System prompt | The agent's standing instructions |
The Autonomy field shows the five levels the way every other screen does, from L1 Observe to L5 Lead. See autonomy and governance.
If something in the draft is wrong, a Validation issues box lists it. An issue marked as an error keeps Provision agent unavailable until you fix it.
When the draft is right, press Provision agent.
After provisioning
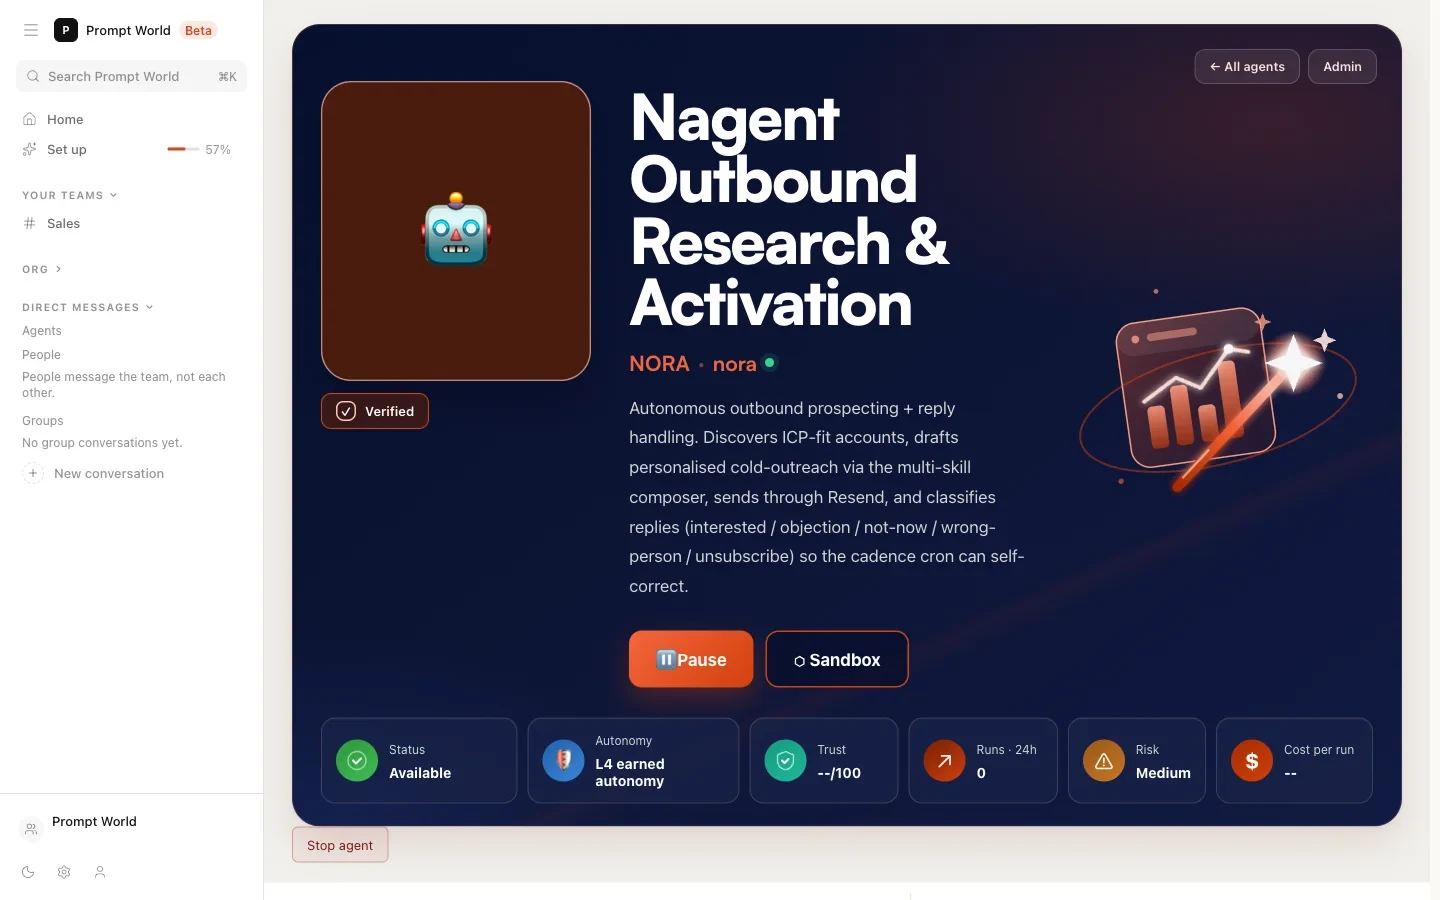
Provision agent makes the agent live in the same click. When there is nothing more to tell you, its page opens straight away. Otherwise the left half says Live and lists what is left:
- Auto-created skills, if the builder wrote new ones for this agent.
- Not usable yet, if a tool the agent needs is not ready. Each line says either that the app is not connected yet, or that the action needs ticking on Integrations. See tools and integrations.
Press Open the agent to go to its page.
Turning an agent on needs the agents:publish permission. Without it the
left half says Provisioned, paused and gives the reason: "Enabling an
agent needs the agents:publish permission. You can still edit this agent;
ask an admin to turn it on."
If the key is already taken, nothing is written. The page says an agent with that key already exists and offers Change the key.
A new agent starts at L2 Assist, whatever higher level the review showed, and the review says so: "A new agent starts at L2 Assist, so this one starts at L2 Assist, not L3 Operate." Raise it from the agent's Autonomy tab once it is built.
A custom agent works when someone messages it in its team room. For recurring work, give it a step in a workflow and put that workflow on a schedule. See workflows.
Our logic
An agent that is live from the first click is one you can brief straight away, and it cannot surprise you: it starts at a level that asks before it acts, and you read the draft, its tools and its caps before you press Provision agent. An agent that is missing a tool says so on the spot, rather than sitting switched on and idle with nothing to tell you why.
Asking from the Build AI Team chat
Build AI Team opens with one chat for everything that makes an agent. Describe what you want built and Nagent works out whether it is an agent, a skill, a workflow or a whole team, restates it, and asks the right builder. If it cannot tell, it asks you to pick agent, skill, workflow or team.
To skip that step, start your message with a command. Type / to see them.
| Command | Asks |
|---|---|
/agent | The agent builder, for a teammate with a role that runs on its own |
/skill | The skill builder, for a reusable instruction an agent follows |
/workflow | The workflow builder, for a sequence that hands work between agents |
/team | The team builder, for a lead, its members and a room, approved once |
/build | Nobody yet: describe it and let the chat decide |
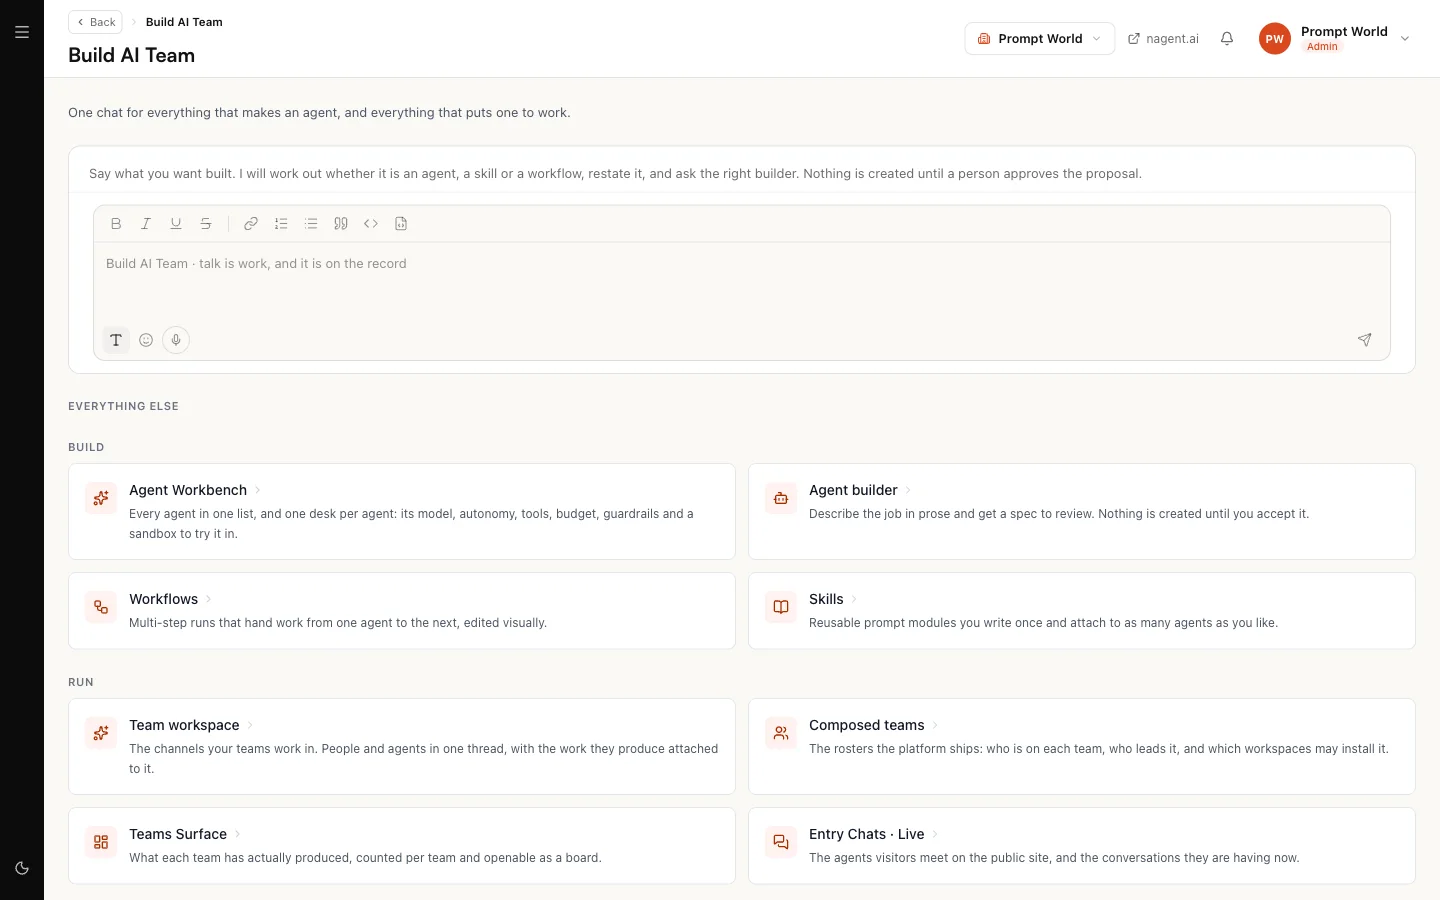
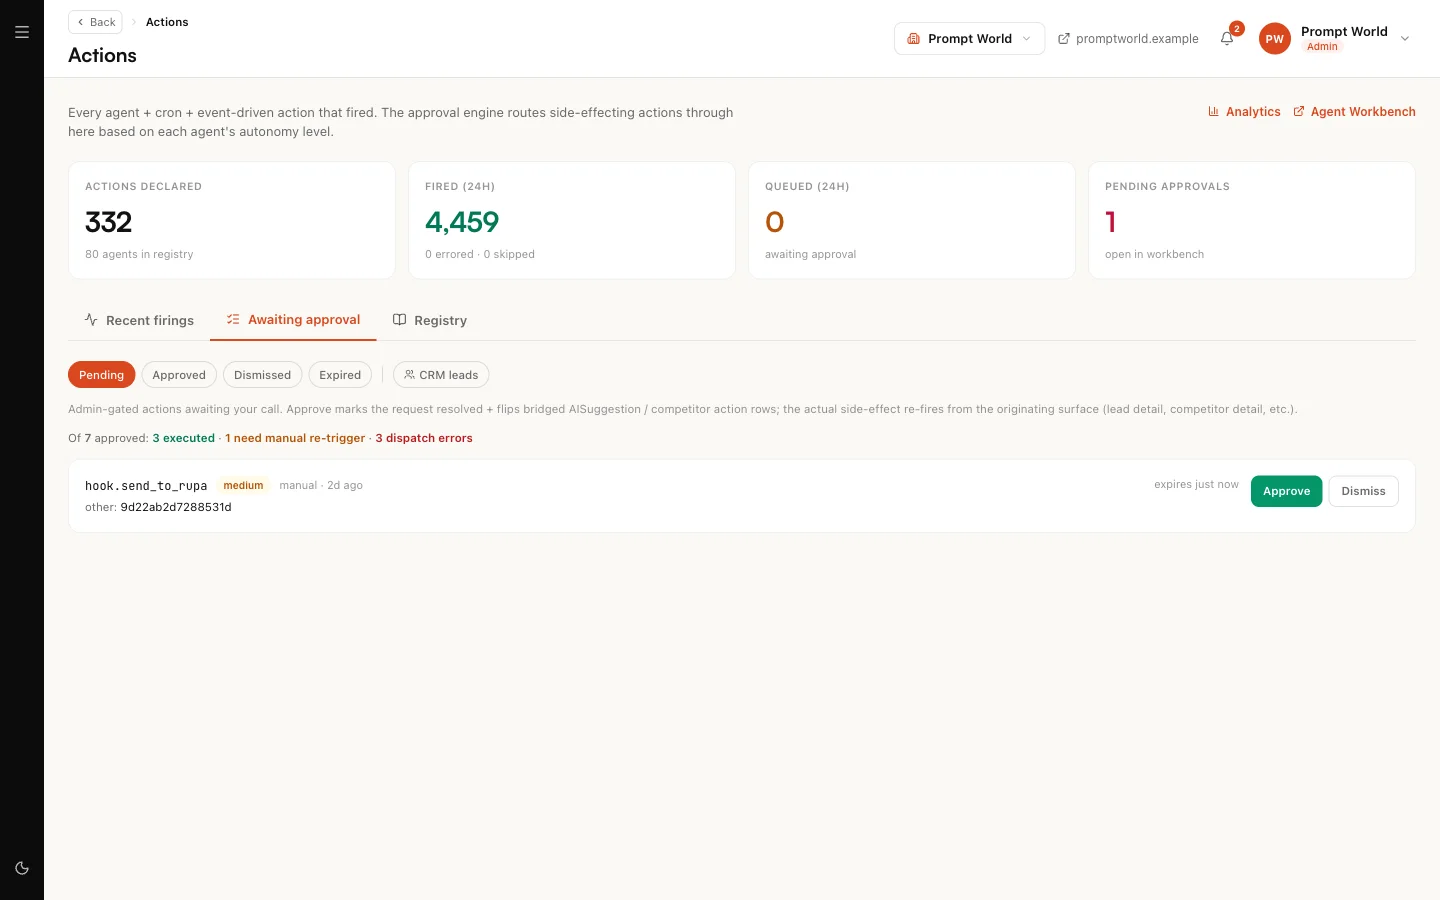
A builder asked from the chat creates nothing on its own. It queues a proposal, and a card in the chat offers Approve and Decline. The same proposal also waits on Actions, under Awaiting approval, if you would rather approve it there.
Building a whole team from the chat (Beta)
Ask the chat for a team in one message, in plain words or starting with
/team:
/team A Reddit marketing team: a lead who owns the weekly plan, a scout who finds the subreddits worth joining, a writer who drafts replies in our voice and an analyst who reports what worked.
The chat answers "Here is the team the team builder drafted. Nothing is built yet. Approve it once below and it builds every agent, then opens the room." Under it, the proposal shows:
- the team's name and kind, such as marketing
- each agent by name, the first as team lead and the others as reports to the lead, with its role and its job in one line
- Charter, which becomes the room's charter
- Tools it needs, in your words, such as Reddit
A team from the chat takes at most eight members under the lead. Asked for more, the chat says so and queues nothing.
Press Approve once. The whole build runs inside that one approval: each agent is drafted and provisioned by the agent builder's own path, with its role, department and reporting line already set, and the chat shows Building and then Built against each name, then Opening the room. The last line reports the result, for example "Built 4 of 4 agents, all live. Opened the room Reddit team." with an Open the room link. If a tool still needs granting, the line ends with To finish: and says where to do it.
A member that fails to build does not stop the team. The report says it was not built and why, and the room opens without it; only the lead is needed for the room. The agents come out live when you can publish agents; otherwise the report says where to turn them on. Decline builds nothing: "Declined. Nothing was built."
For the longer way, one agent at a time with Reddit, skills and a weekly workflow added by hand, see building a team of your own.
Building an agent while forming a team
The New team form lists the agents in your workspace. If none of them fits, write the job under What it would do, in one line and press Build agent: the builder opens with your sentence. Come back to the form when the agent exists, and it is on the list. See setting up a team.
Once it is on a team
Put the agent on a team's roster and the team's lead can hand it work. When someone briefs the lead in the room, the lead reads each teammate's role, description, capabilities and the tools it has been given, and passes the request to the one it fits. A teammate that is switched off or paused is never chosen, and a teammate cannot pass the work on again. Step 7 of building a team of your own shows a lead doing this.
Where to go next
- The Agent Workbench: the agent's own page, where you keep configuring it.
- Building a team of your own: a worked example, four agents to a working team.
- Skills: the procedures an agent follows.
- Autonomy and governance: what its level lets it do.