
Running outbound campaigns with NORA
How to save an audience as a campaign on NORA's Prospects tab, set how and when it runs, read what each run found, and take the companies it finds through to an approved first e-mail.
Browse documentation
A campaign is a saved audience NORA searches again on every run
A one-off ask finds companies once. A campaign keeps the audience: who you want to reach, how many profiles to take each run, which sequence to enrol them in, and when to run. Everything about campaigns lives on NORA's Prospects tab, whose views are Companies, People, Campaigns and Board. Find with NORA, on Companies, is where you try an audience first.
The older outbound and prospecting addresses still work and now open NORA's tabs: the outbound pipeline opens Prospects, Board; outbound settings open Settings; drafts open Outreach, Emails; and outbound analytics open Results, Performance.
Before you start
A campaign finds nothing useful until NORA has something to aim at and something to say. Check three things first, in this order:
- An active customer profile. Without one, discovery has nothing to score against. See who you sell to.
- Knowledge to write from. What NORA knows is under her Settings, which shows what is still empty. See NORA.
- A sending account, so an approved draft can actually leave. See email and integrations.
Step 1. Try the audience with Find with NORA
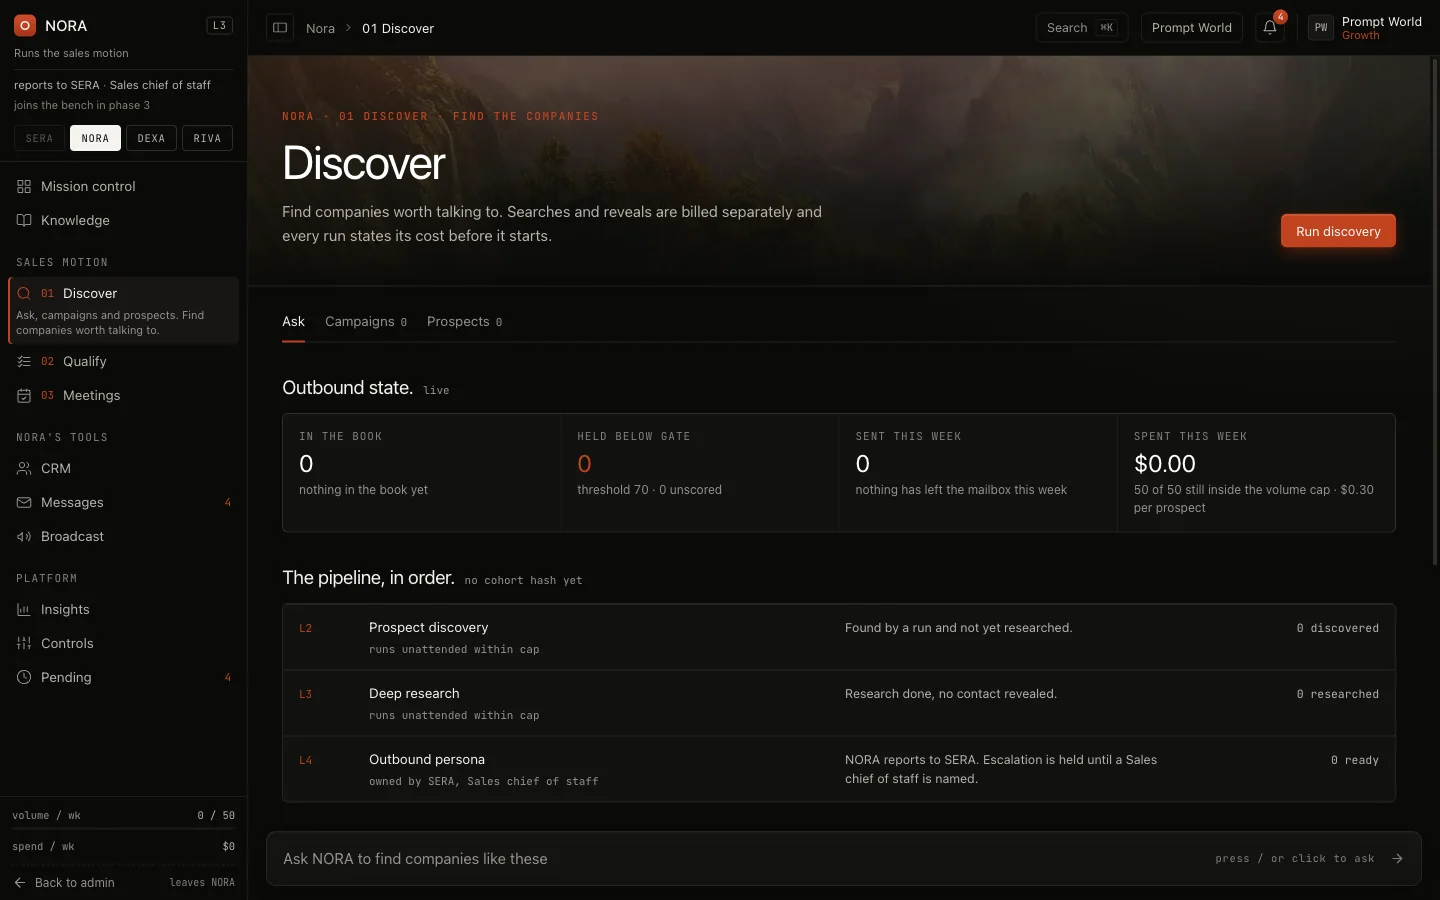
Open NORA's Prospects tab and press Find with NORA (nagent.ai/admin/nora/prospects/find). The page shows the outbound state (in the book, held below the gate, sent and spent this week) and the pipeline in order. Type in the bar at the bottom, or use a suggestion such as Find lookalikes of a named account.
For Prompt World, which runs prompt engineering workshops for marketing and sales teams, a first ask might be:
Find B2B software companies in India with 200 to 2,000 staff whose marketing teams are hiring for AI roles.
Run discovery runs a search against your active profile. Every run states its cost before it starts, and a run whose forecast crosses the weekly spend cap does not start until someone approves it on NORA's Review tab.
When an ask returns the kind of company you want, save the audience as a campaign.
Every campaign is a segment of a customer profile
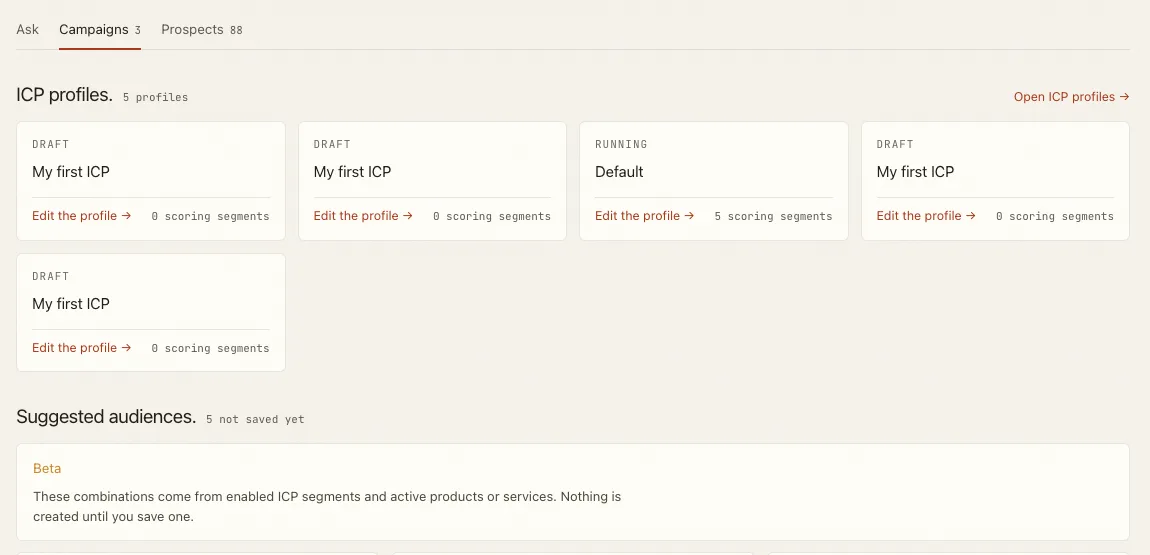
The Campaigns view starts from your customer profiles, because a campaign is a saved audience of one of them. It shows three things, top to bottom.
| Section | What it shows |
|---|---|
| ICP profiles. | Each profile with its status and how many scoring segments it has, and Edit the profile. With none, it says "No scoring profile yet." and offers Define an ICP |
| Suggested audiences. | Marked Beta. One card per enabled segment of a profile, or per segment and active product or service once you have some. Save as campaign turns a card into a campaign; nothing is created until you press it |
| Saved audiences. | Your campaigns. Each card shows its status (Draft, Running, Paused or Completed), the profile and segment it came from, its filters, and a line such as "15 found · last run 3d ago" |
The line on a saved campaign is read from its runs, so it counts what the runs actually did. It says enrolled when a sequence enrolled people, otherwise imported, otherwise found, then when the campaign last ran.
On each saved campaign, Open the sequence opens its own page. View people found and View leads in CRM appear once a run has found or imported someone. Run starts a run now, and Delete removes the campaign and its run history after you confirm.
Step 2. Create the campaign
The quickest way is Save as campaign on a suggested audience. To set the filters yourself:
- Open the Campaigns view and press New campaign (or Create campaign when there are none yet).
- Under Describe your campaign, write the audience in a sentence and press Fill the form. NORA fills in the fields below; check them.
- Under Campaign details, give it a Name, which is required, and an optional Description. A name that says who and where reads well later, for example "Heads of marketing, B2B software, India".
- Under ICP filters, set Industries, Geographies, Job functions / titles and Company size. Leave Company domains empty unless you have a fixed list of accounts, and add Keywords only if they sharpen the search.
- Under Settings, set Max profiles and choose an Auto-enroll sequence, or leave it on import only.
- Press Create campaign. The campaign's own page opens.
Step 3. Set how and when it runs
On the campaign's page:
- Execution settings. Set Max profiles per run and Max pages to scan. To compare two sequences, choose a second one and a Split (% to A).
- Reveal email + phone. Tick it only if you want contact details for every profile; it spends one reveal credit per contact.
- Schedule. Tick Enable scheduled runs and pick Daily 9am, Mon 9am, Wed 9am, Fri 5pm or Monthly 1st, or type your own schedule. Times are in UTC.
- Report to. Pick a team room and the run posts what it did there, in the name of that room's lead. Left on Nowhere, the page warns that the run "will do the work and tell no one".
Press Save. Run now starts a run straight away.
Start small: a few profiles a day is easier to review than a full list, and you can raise it once the drafts are coming out right.
Step 4. Read what each run found
The campaign page counts Profiles searched, Leads imported, Enrolled and Total runs, and keeps a run history. Open a run to see every profile it handled, filtered by Imported, Duplicates, No email and Failed.
Imported people become leads in your CRM. See CORA's CRM. If you chose a sequence they are enrolled in it, and what a sequence sends is decided by your Autopilot mode, described on LIPI.
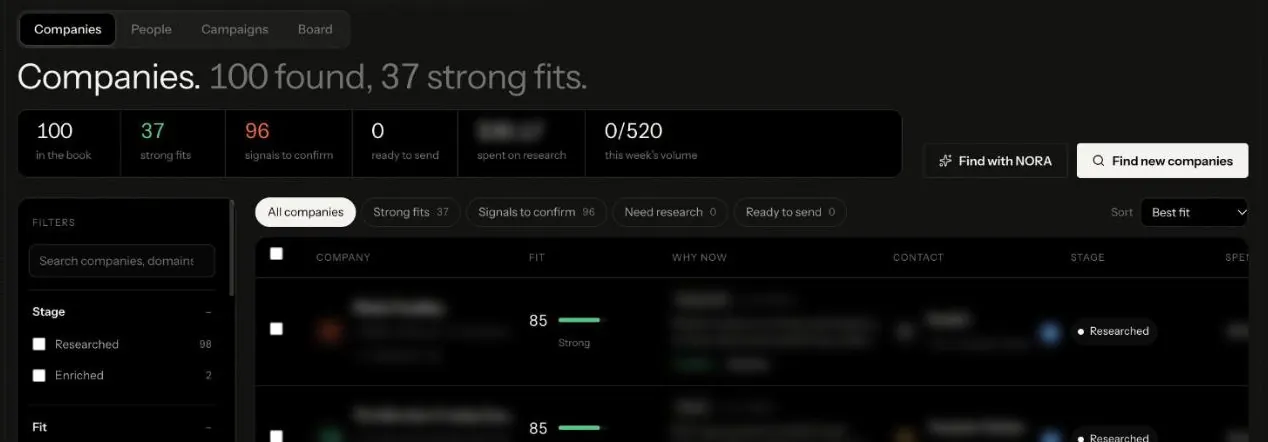
The companies NORA has found are on her Prospects tab, under Companies, each with its fit score, why now, the contact, its stage and what it has cost. A signal older than 30 days is not treated as a reason to write.
Step 5. Take companies through to a first e-mail
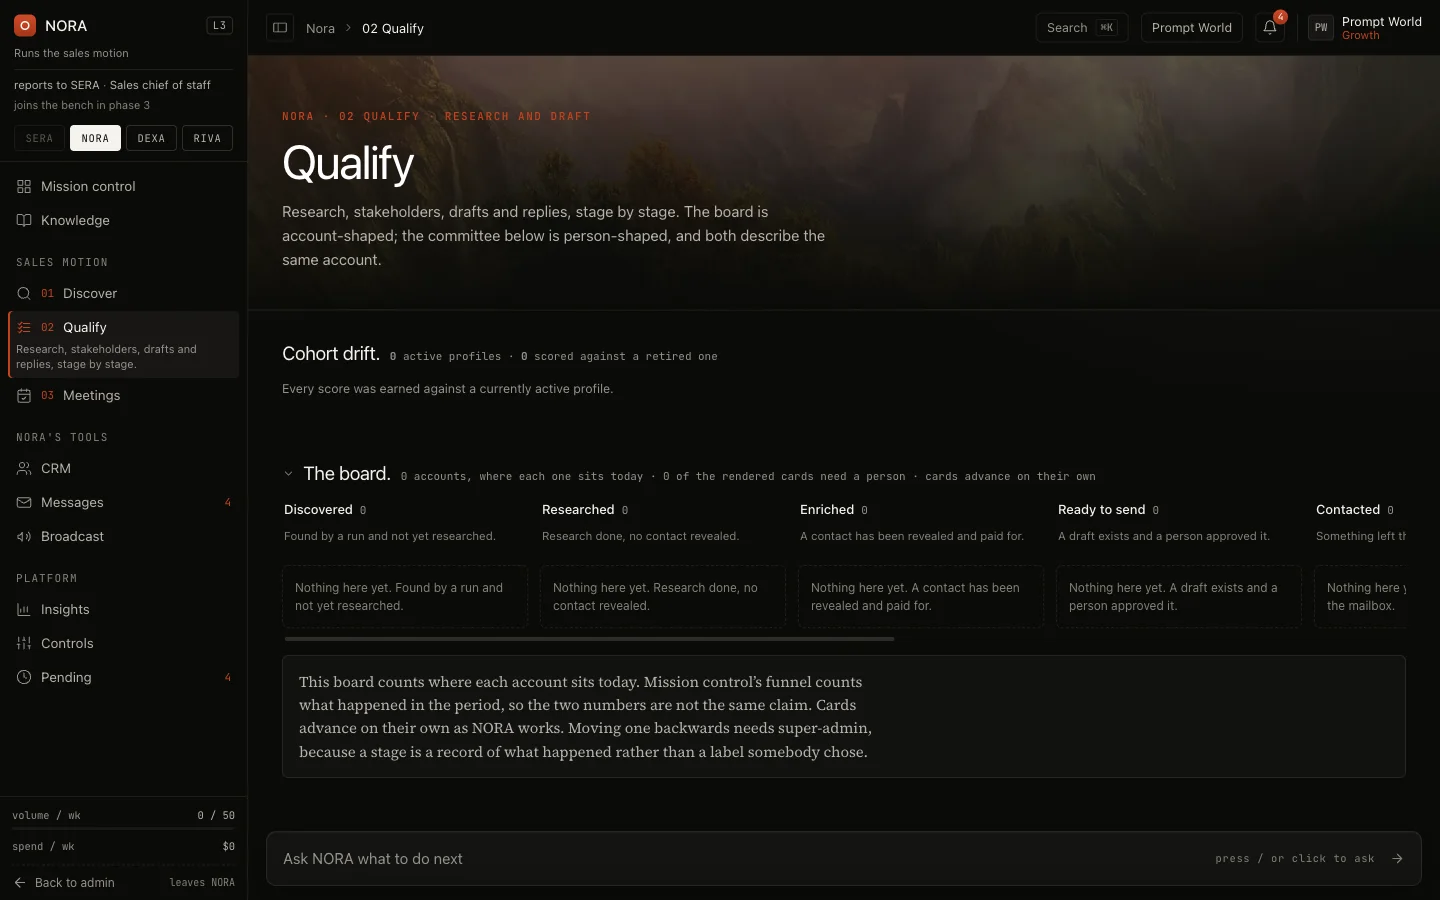
Each company moves across the board on NORA's Prospects tab, under Board: Discovered, Researched, Enriched, Ready to send, Contacted. Cards move on their own as NORA works. Contact details are revealed only for a company that scores 70 or more against your profile.
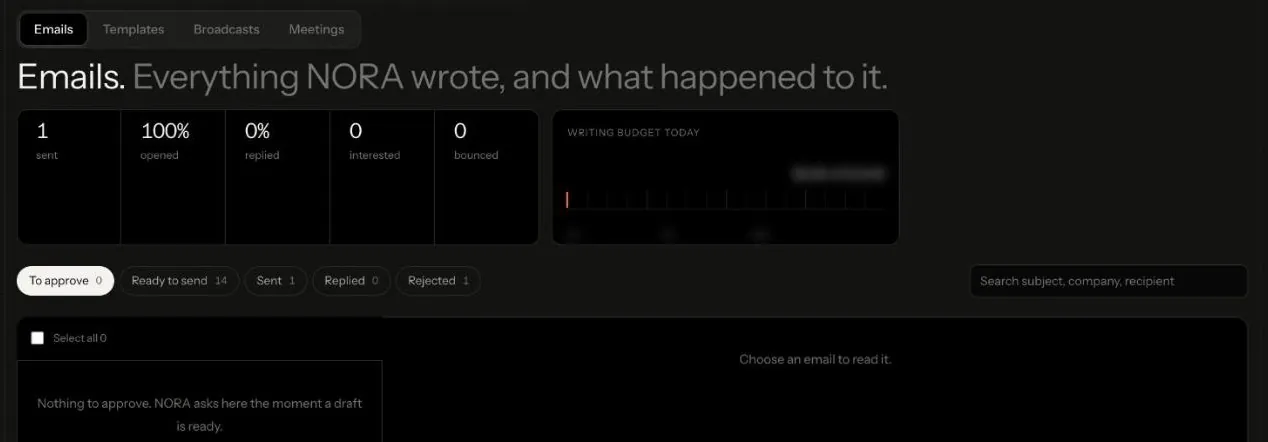
To get a first e-mail, open a prospect and press Draft, or ask NORA to draft outreach for a named company. The draft lands on NORA's Outreach tab, under Emails, in To approve.
- Open the draft and read it against what you know of the company.
- Approve it, or reject it.
- Approving moves the company to Ready to send. It does not send.
Sending is a separate step, and on a new workspace every send NORA makes waits for a person's approval. What waits shows in the Sales room, on Actions and on NORA's Review tab. See approvals and the Inbox.
Every e-mail that goes out carries an unsubscribe link and one-click unsubscribe headers. A recipient who opts out, replies asking to stop, marks the e-mail as spam, or whose address bounces permanently is written to your workspace's suppression list. Each send is checked against it at the moment it leaves: Send refuses with the reason and date, and Send all reports how many were skipped because the recipient opted out. See unsubscribe and suppression.
Step 6. Learn from the results
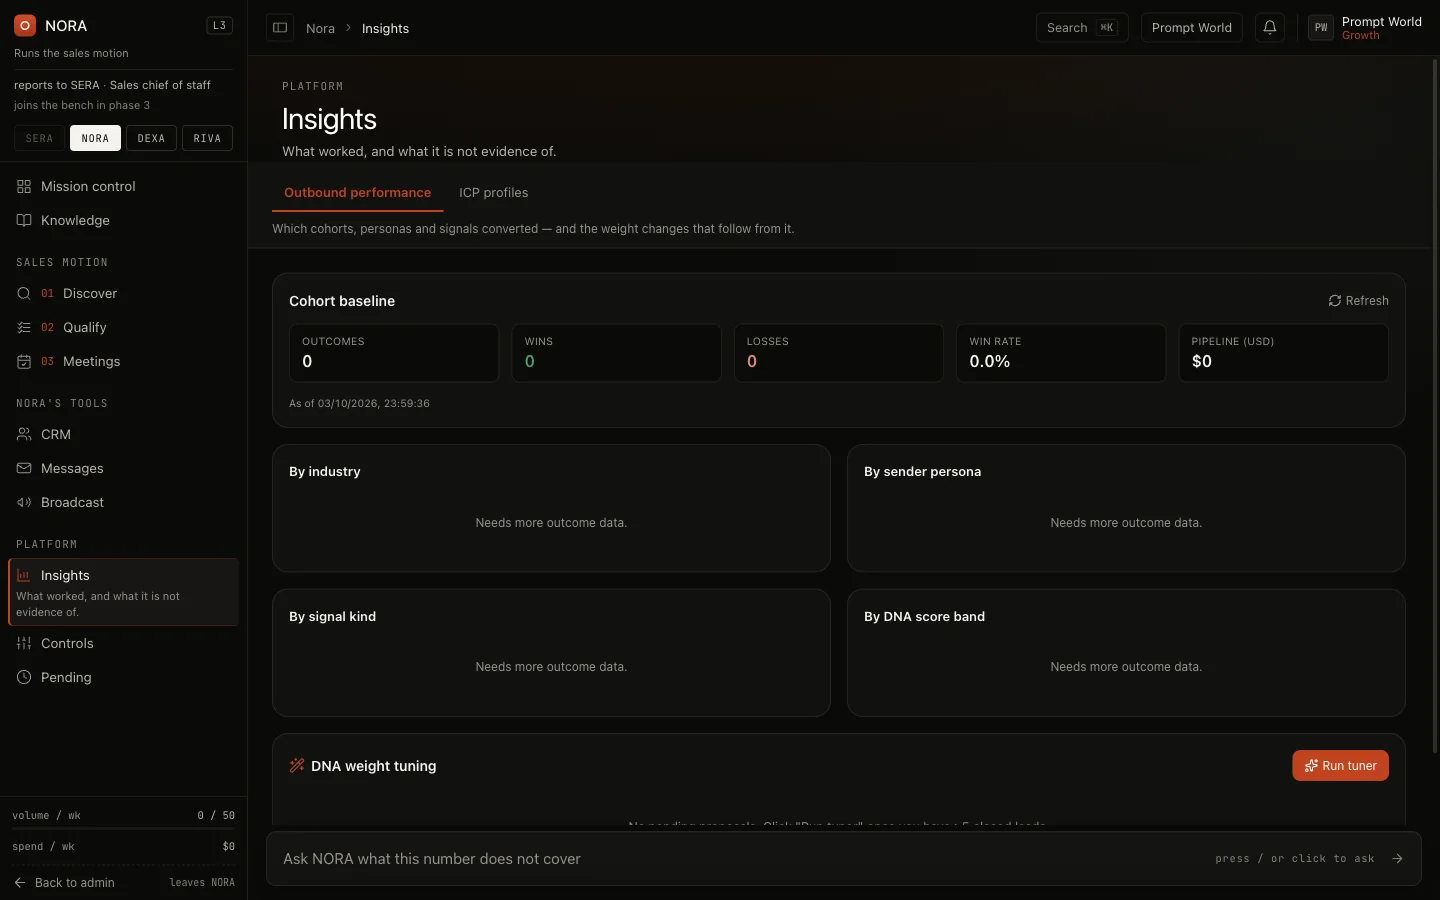
NORA's Results tab, under Performance, shows which cohorts, personas and signals converted: a baseline of outcomes, wins, losses, win rate and pipeline, broken down by industry, sender persona, signal kind and score band. Until outcomes are recorded each panel says it needs more data. Run tuner proposes changes to how NORA weighs a profile once enough leads have closed.
A one-off search
For a single list with no schedule, Outbound prospecting (nagent.ai/admin/prospecting) takes the same kind of filters (industry, job titles, geography and pain points), scores each profile against your profiles, and lets you import the ones you select as leads. Save as campaign turns the search into a campaign.
Our logic
A campaign runs without you, so everything it does is counted and shown: what it searched, what it imported, what it skipped and why, and what it cost. Finding and drafting can run unattended; an e-mail reaching a stranger cannot.
Before you scale up
- Check fit before contact. A profile in the results is not a reason to write; the score and the why-now are.
- Watch the volume. A daily schedule fills the queue quickly. Raise Max profiles per run only when someone can review what comes in.
- Read every draft for accuracy and tone before you approve it.
- Keep campaign names descriptive, so the run history makes sense in a month.
Where to go next
- NORA: her screens, her stages and what asks first.
- Who you sell to: the profile every campaign scores against.
- VANI: who writes NORA's first-touch drafts.
- Approvals and the Inbox: where sends wait.