
Third-party tools
The kinds of outside tools a workspace can connect, how an agent uses a connected tool during its work, and the checks every call passes before it runs.
Browse documentation
An agent can use only the tools you connected, in the ways you allowed
Agents do their work in the systems you already use: your CRM, your mailbox, your team chat, your ad accounts. A third-party tool is any of those, connected to your workspace. Once connected, the actions you allow become tools your agents can call while they work, and every call passes the same checks whoever or whatever started the work.
This page explains what the tools are and how agents use them. To connect one, step by step, see connecting a tool.
The kinds of tools
The Integrations page lists everything a workspace can connect, under the heading "Everything this workspace can connect."
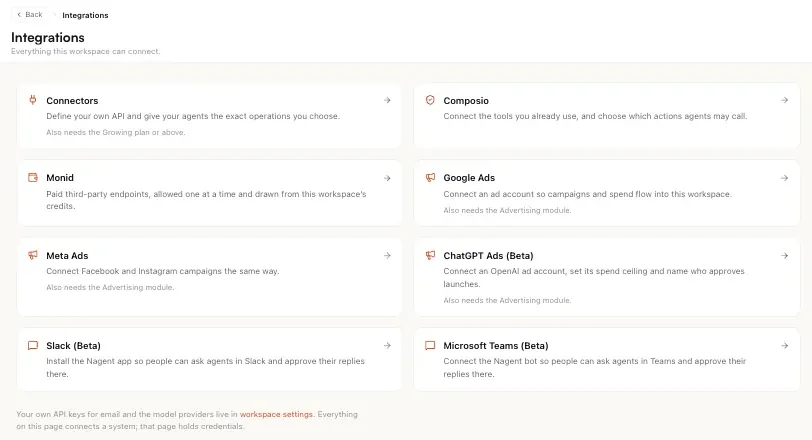
| Card | What it connects |
|---|---|
| Composio | The tools you already use, such as Gmail, Slack, HubSpot, Notion or Google Sheets. You choose which actions agents may call |
| Connectors | Your own API. You define it and give agents the exact operations you choose |
| Monid | Paid public-data endpoints, drawn from your workspace's credits. The ones your agents use are set up for you |
| Google Ads | An ad account, so campaigns and spend flow into the workspace |
| Meta Ads | Facebook and Instagram campaigns, the same way |
| Slack (Beta) | The Nagent app in your Slack workspace, so people ask agents in Slack and approve their replies there. See Nagent for Slack |
| Microsoft Teams (Beta) | The Nagent bot in Microsoft Teams, so people ask agents in Teams and approve their replies there. Starting an agent from Teams needs an Organisation admin, Chief of staff or Team lead, as in Slack |
| ChatGPT Ads (Beta) | An OpenAI ad account, with its spend ceiling and the people who approve launches. NIA runs the campaigns; see NIA |
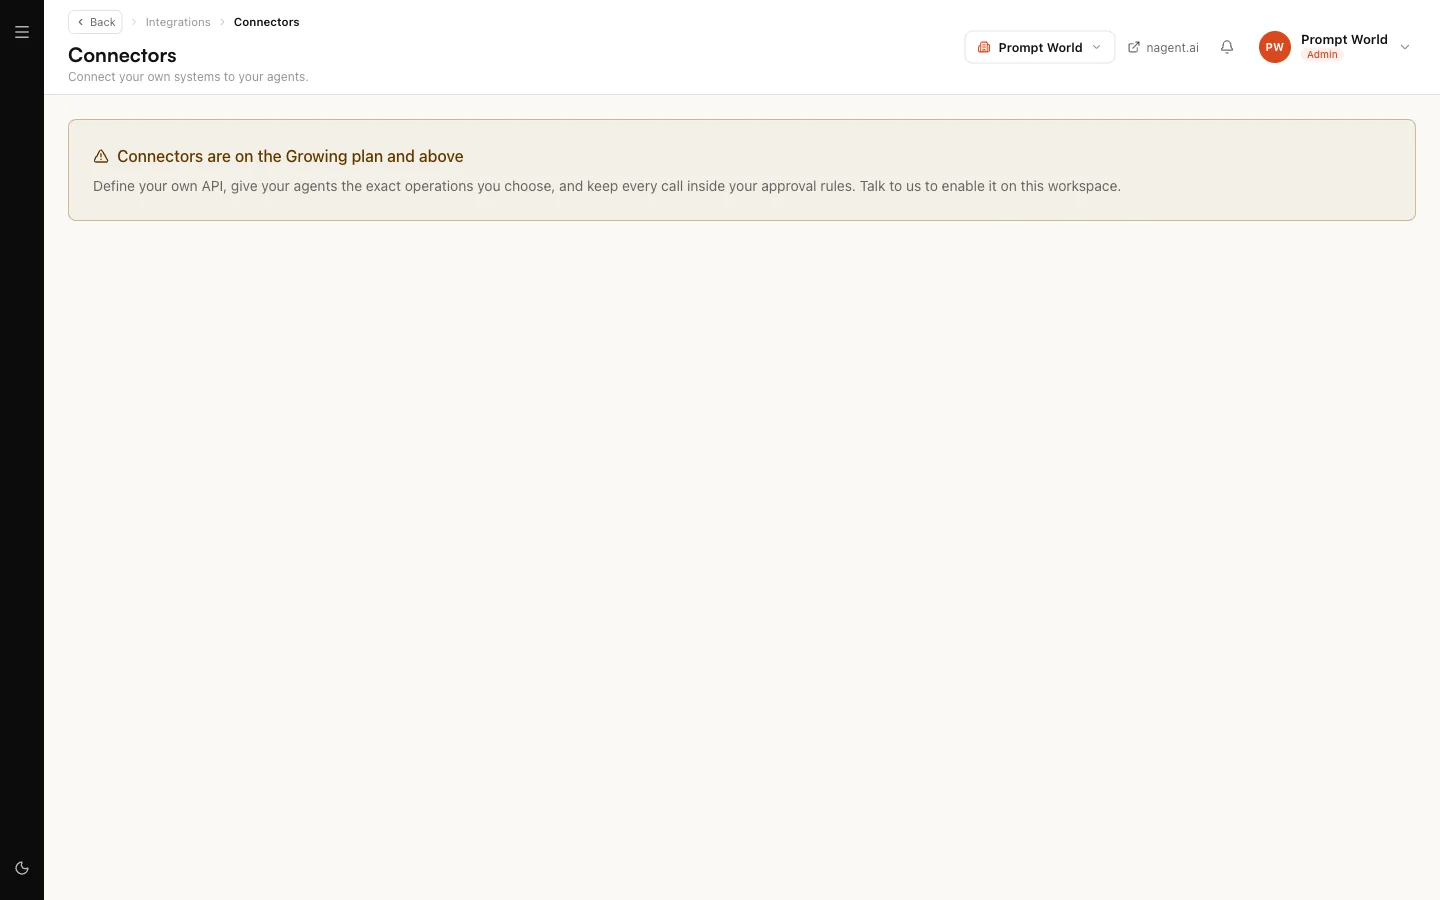
Some cards need more than a permission. Connectors are on the Growing plan and above, and the three ad cards need the Advertising module. A card you cannot open still shows, and says which of these is missing, rather than disappearing.
Monid needs no set-up
The Monid endpoints Nagent's own agents read, such as Echo's Google reviews and HOOK's ad library search, are set up automatically the first time an agent needs one, for that agent only. The Monid page lists them under What your agents use, where Pause stops an agent reading one. Every call checks Monid's live price first and is paid from your credits.
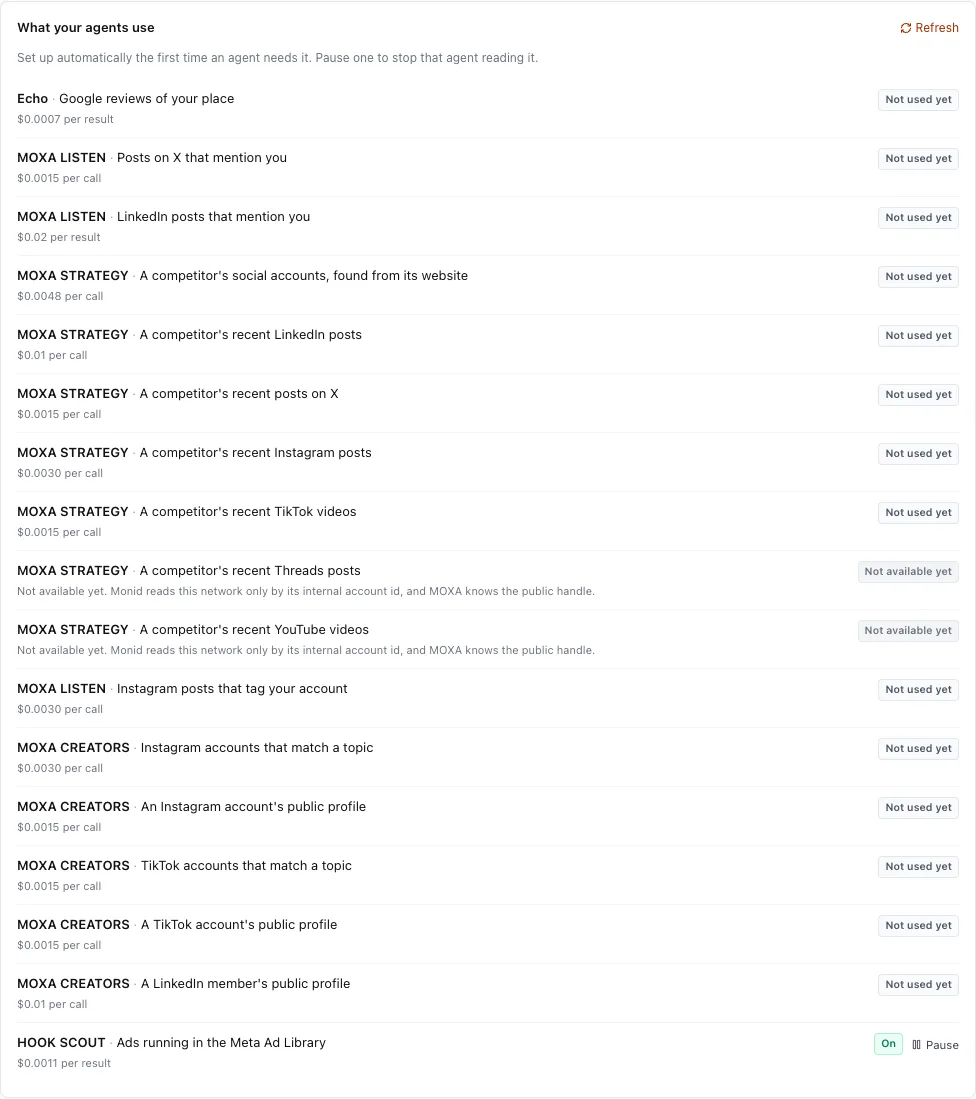
A few reads show Not available yet with the reason beside them. They cost nothing while they wait.
To give any other Monid endpoint to an agent, pick it under All Monid endpoints and select Give to an agent. The directory lists every endpoint Monid offers, with its provider, its path and its price; filter it by category or search by name, description, provider or endpoint. You choose the agents that may use it; an endpoint is never open to every agent. Tick This endpoint only reads only when it buys, sends, posts and changes nothing; left unticked, the agent's calls wait for approval.
The panel at the top of the page, Monid spend, shows what your workspace has spent through Monid this month and the most one call may cost. A call priced above that limit does not run.
A paid result is kept for the agent
The output of every paid Monid call is stored for your workspace. The agent that ran it can read it again later without paying a second time, and its memory keeps a one-line note of each run. Results are kept until the workspace is deleted.
Keys for your outbound e-mail are not tools. They are credentials, and live in Settings; see email and integrations.
Which tools your teams need
A team you install can declare the tools it cannot work without. Those tools appear under Your teams need these on Connect your tools, and until each is connected, the agents that use it stay switched off.
When you connect a tool a team declared, the actions that team needs are allowed for you and narrowed to that team's agents. Anything else you allow by hand.
How an agent uses a tool
An allowed action becomes a tool the agent can call. It is not a schedule: the agent calls it when its work needs it, during a conversation in a team room, during a run, or after an event starts the work. Before the call goes out, Nagent checks four things.
- Is the action allowed? Only actions ticked on the tool's connection exist for agents at all.
- Is this agent in the action's scope? An action narrowed to named agents cannot be called by any other.
- Is the connection working? An expired or failed connection fires nothing until it is connected again.
- Does the agent's level cover it? Reads run. Anything that creates, changes, sends or deletes runs on its own only at L4 Represent and above, and a post on a social platform waits for a named person at every level.
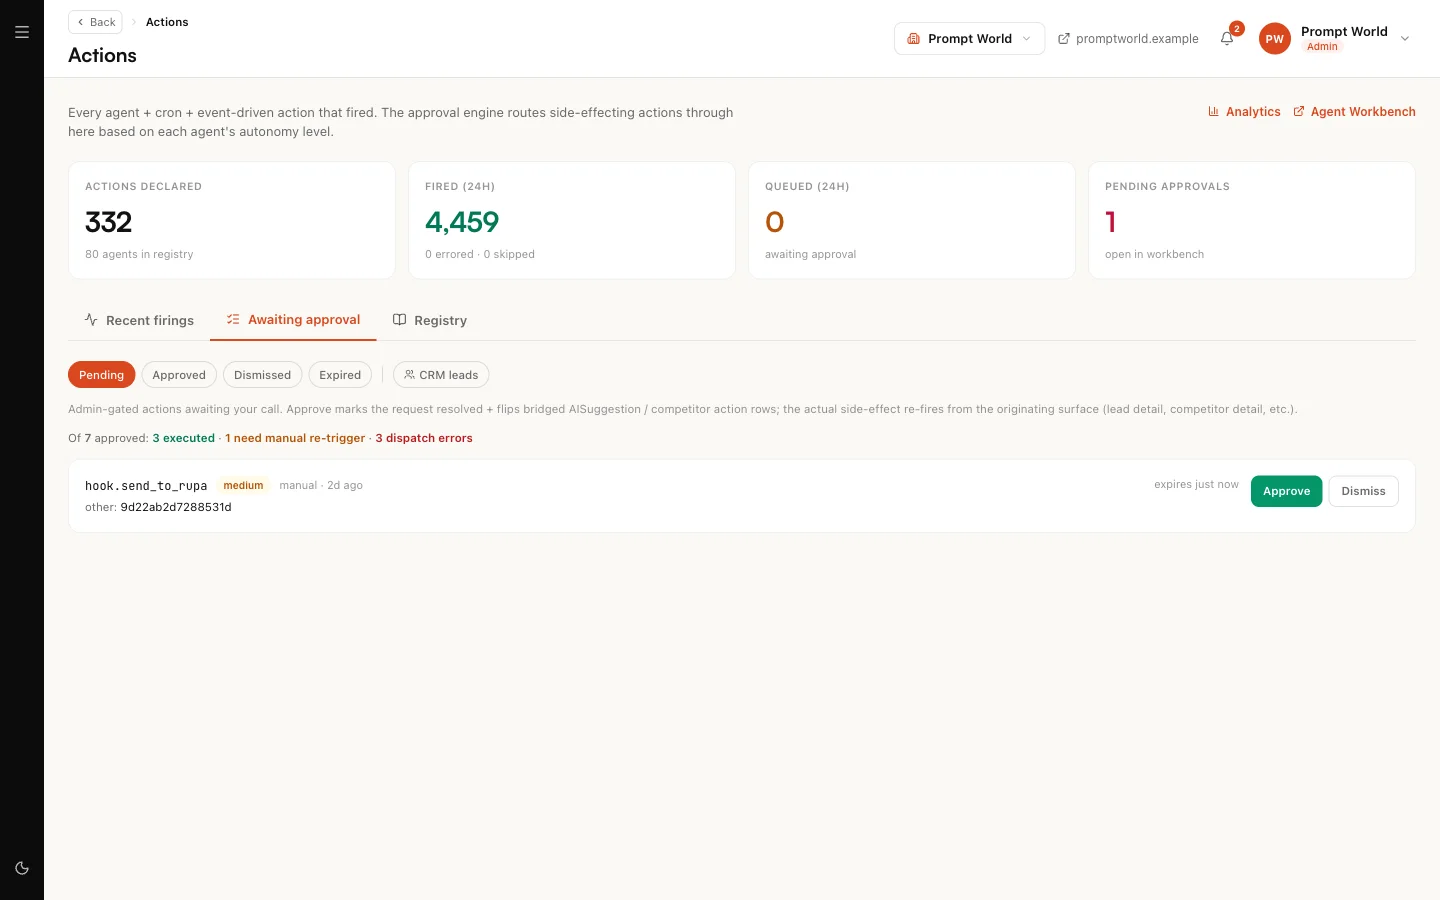
An action that has to wait is queued, not dropped. It shows on Actions under Awaiting approval, where a person selects Approve or Dismiss. On a new workspace, every e-mail NORA sends waits there for a person, whatever her level shows.
Work started by an event, such as a new message in a connected tool, passes the same checks. An event can never make an agent do something it could not have done when asked. See triggers and webhooks.
Seeing what an agent is sent
Every agent's page in the Agent Workbench has a Tools pane headed What this agent is sent. It lists every tool that reaches the agent and where each one comes from, and has a Scope switch.
- With scope off, the agent is sent every tool your workspace allows it.
- With scope on, only the tools you tick are sent. The agent keeps its own read tools either way, because those are how it reads, not how it acts.
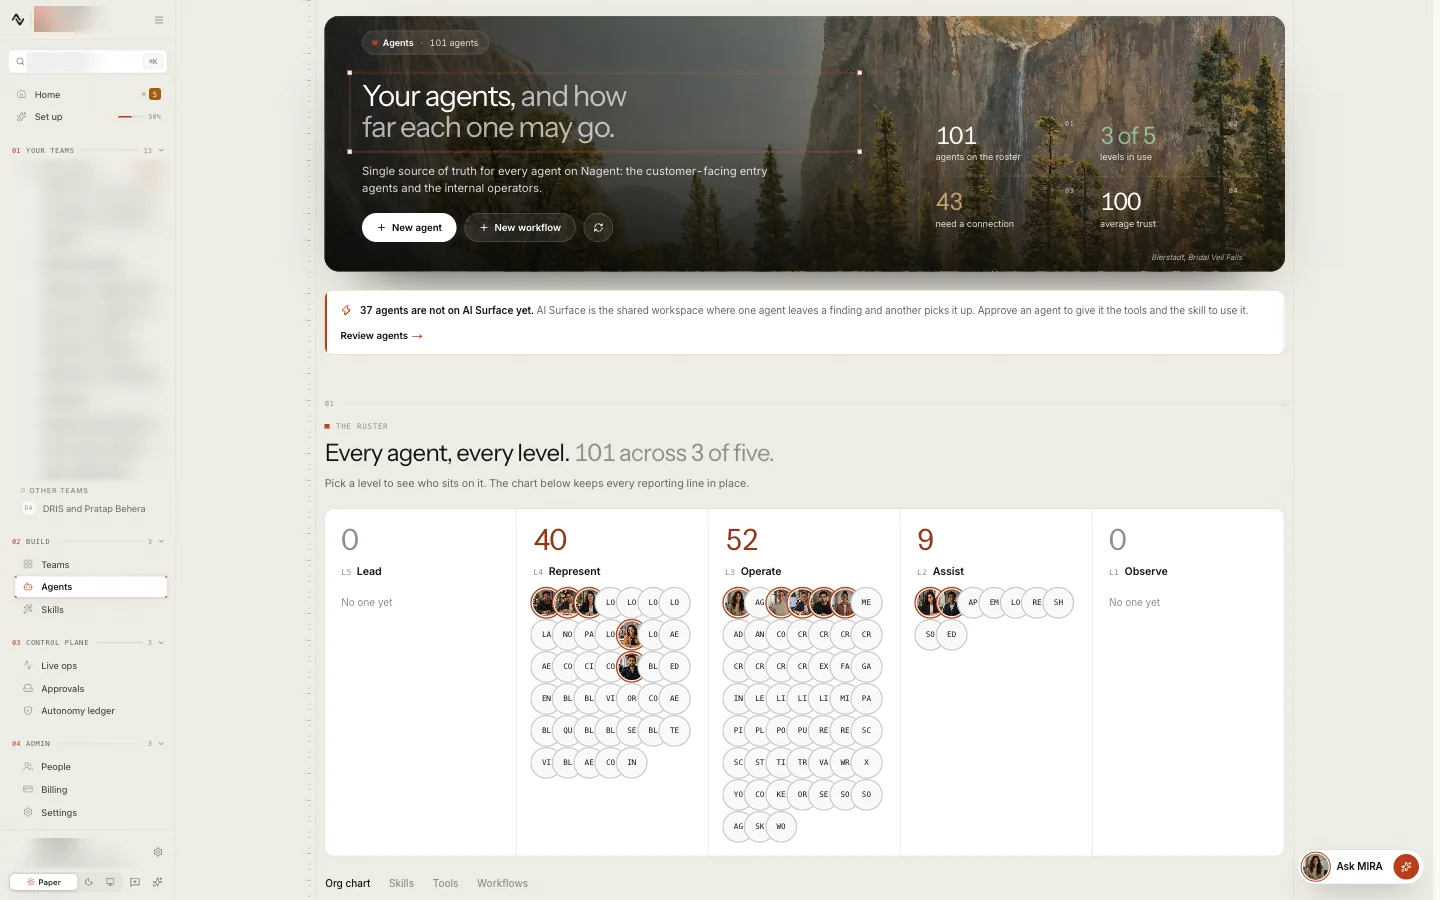
See the Agent Workbench for the other panes.
Our logic
Three separate controls decide what happens when an agent reaches for a tool: which actions exist (the whitelist), who may call each one (its scope), and whether it runs unattended (the agent's level). Widening one never widens the others. That is what lets a new agent and a proven one share the same tool safely: the same call is a proposal from the first and an action from the second.
Practice that keeps tools safe
- Connect only accounts you are authorised to use.
- Allow the fewest actions that do the job, and add more when real work needs them.
- Leave destructive actions, such as deleting messages, off unless a task truly requires them.
- Narrow every action with consequences to the agents that need it.
- Review a tool's triggers before switching one on.
Where to go next
- Connecting a tool: sign in, choose actions and narrow them, step by step.
- Triggers and webhooks: events that start agent work.
- Autonomy and governance: the levels that decide what runs on its own.